SLAU781 August 2018
1.1 Using the KDK350ADPTR-EVM
The KDK350ADPTR-EVM is used with the MSP432E411Y-BGAEVM to showcase the 16-bit parallel LCD interface on the MSP432E411Y device. The SimpleLink MSP432E4 Software Development Kit (SDK) includes a graphics library example of the LCD capabilities of the MSP432E411Y MCU.
To use the KDK350ADPTR-EVM with an MSP432E411Y-BGAEVM and the graphics library example, follow these steps:
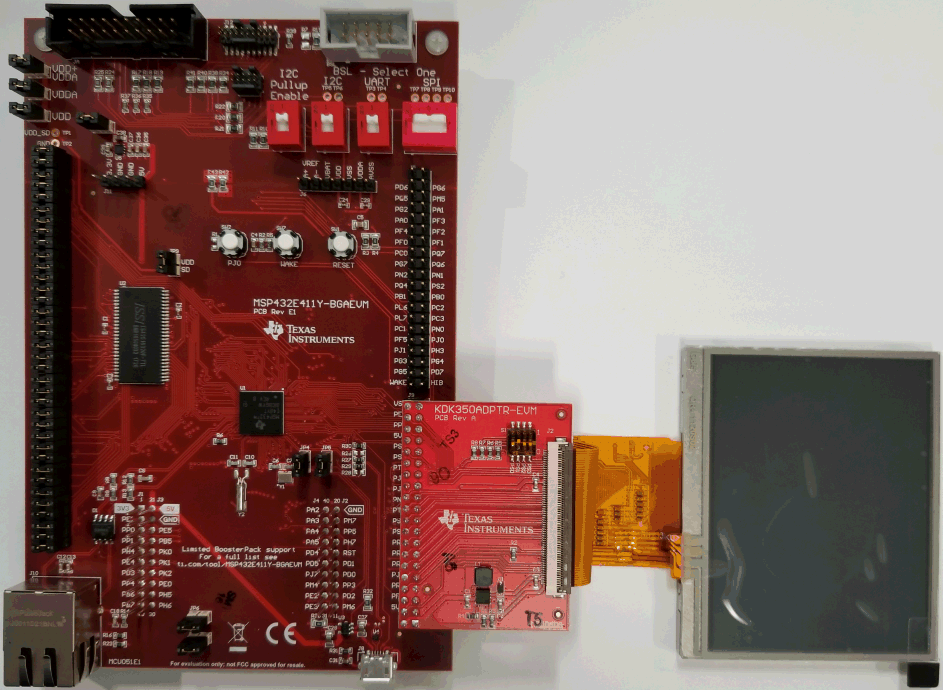
- Connect the J1 female header on the KDK350ADPTR-EVM to the J9 male header on the MSP432E411Y-BGAEVM. Make sure to align all of the pins. Figure 2 shows how the LCD EVM connects to the BGA EVM.
- Connect a debugger that supports Arm® based MCUs (such as an the XDS110 JTAG Debug Probe) to the PC and to the MSP432E411Y-BGAEVM.
- Apply power to the MSP432E411Y-BGAEVM following the instructions in the MSP432E411Y-BGAEVM User's Guide.
- Import the 'kentec_lcd' example project (/examples/nortos/MSP432E411Y_BGAEVM/grlib/kentec_lcd) into one of the supported IDEs and build the project.
- Download and run the example.
 Figure 2. KDK350ADPTR-EVM Connected to MSP432E411Y-BGAEVM