SLUUCC4A October 2020 – September 2021 TPS92520-Q1
- Trademarks
- General Texas Instruments High Voltage Evaluation (TI HV EMV) User Safety Guidelines
- 1Description
- 2Performance Specifications
- 3Performance Data and Typical Characteristic Curves
- 4Schematic, PCB Layout, and Bill of Materials
- 5Software
- 6TPS92520EVM-133 Power Up and Operation
- 7Revision History
6.3 SPI Command Window
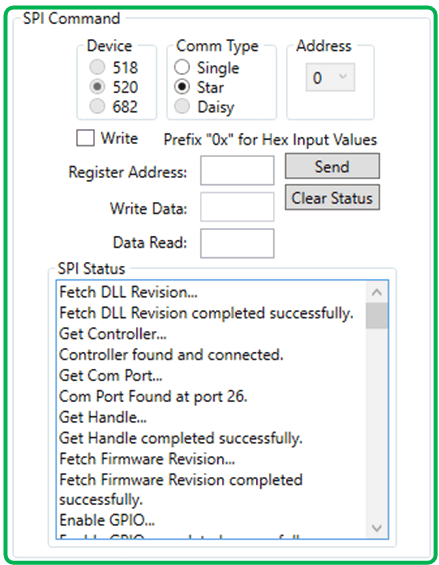
The SPI command box allows register read and write actions and it also records the SPI status sequentially.
 Figure 6-12 SPI Command Window
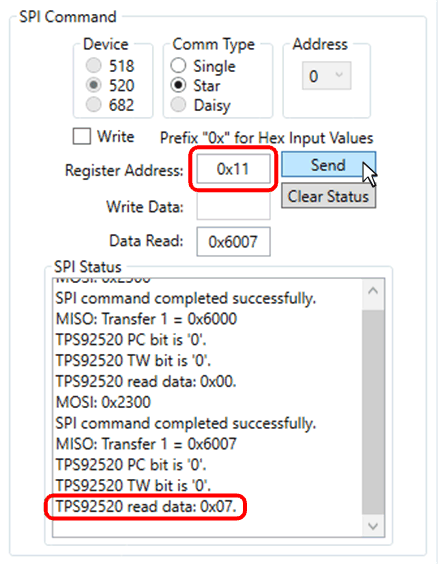
To ensure a connection from the board to the TPS92520-Q1 exists, perform the following steps as shown in Figure 6-12.
- Write the register address eleven (0x11h), which is the CH1TON register, in the Register Address box: 0x11.
- Double-click Send.
The default value of 0x07 for the register 11 will be shown in the SPI Status window, see Figure 6-13.
 Figure 6-13 SPI Read Example.
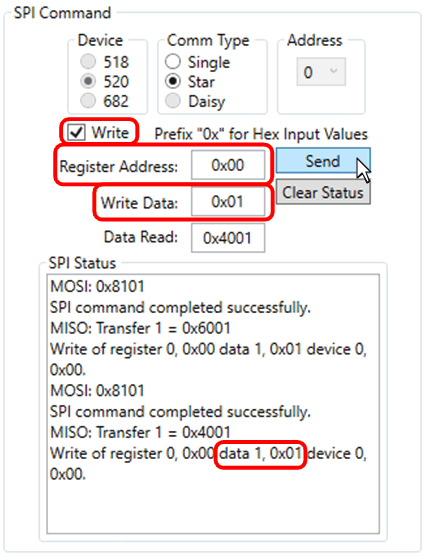
 To write data to associated register address:
- Click the check box next to Write
- Write the desired data in the box next to Write Data: as shown in Figure 6-14.
- Click Send.
 Figure 6-14 SPI Write Example.