SLVUBX5C December 2022 – August 2024 TPS25762-Q1 , TPS25763-Q1 , TPS25772-Q1
6 Telemetry
The EVM supports device communication over USB to the integrated TIVA MCU. Connect the USB cable to the micro USB port of the EVM as shown in Figure 6-1. In addition to allowing EEPROM programming over I2C, the USB connection also provides a data and control communication path between the EVM and PC. Using the USB interface, the user has control over the following actions:
- Device reset
- I2C port configuration
- Telemetry data detailing the operational status of the charging ports
- Device status
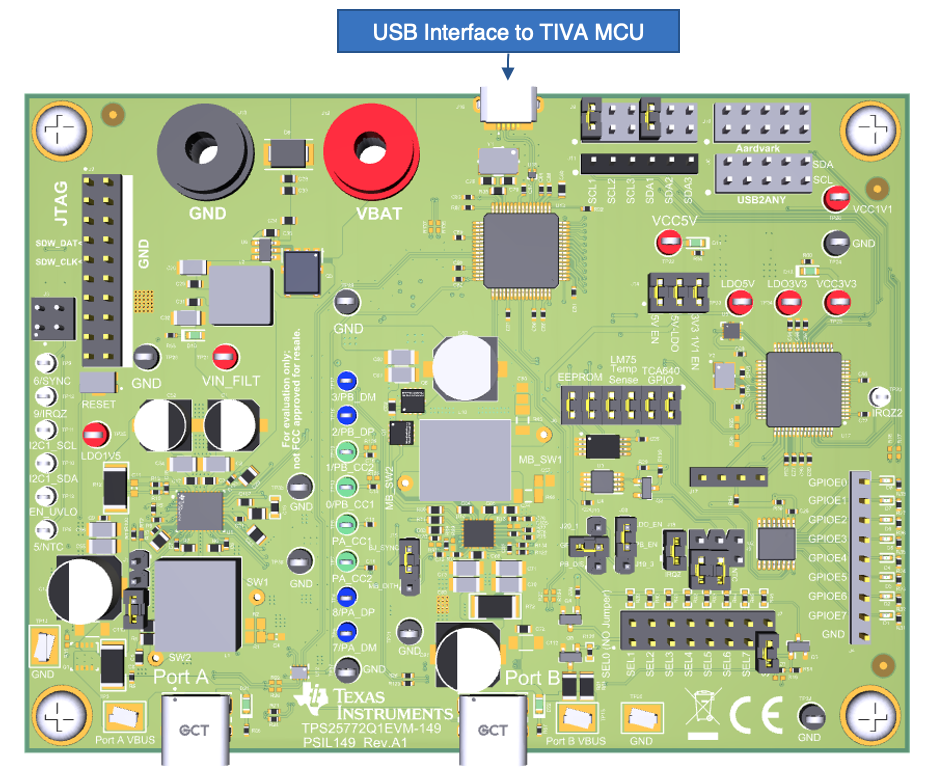 Figure 6-1 TIVA USB Port
Connection
Figure 6-1 TIVA USB Port
ConnectionThe connection status is indicated in the bottom left corner of TPS257XX-Q1-GUI, see Figure 6-2 and Figure 6-3. The status icon can also be used to connect or disconnect the TIVA USB port by clicking the icon. If not connected, click the icon to establish connection.
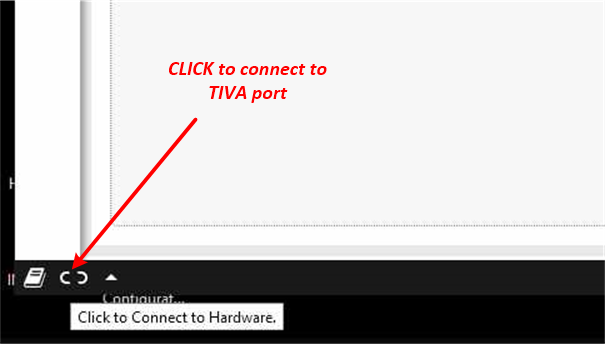 Figure 6-2 TIVA USB Disconnected
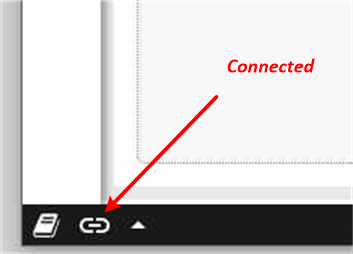 Figure 6-3 TIVA USB Connected
If the connection cannot be established, check the serial port configuration in the control at the upper left of the GUI, see Figure 6-4.
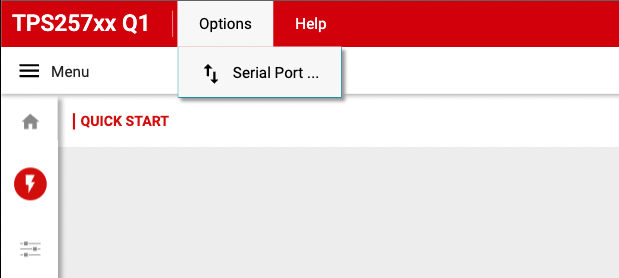 Figure 6-4 GUI Communication Port
Menu
Figure 6-4 GUI Communication Port
MenuThe telemetry view in the GUI is selected by clicking the Device Communication button in the sidebar, see Figure 6-5.
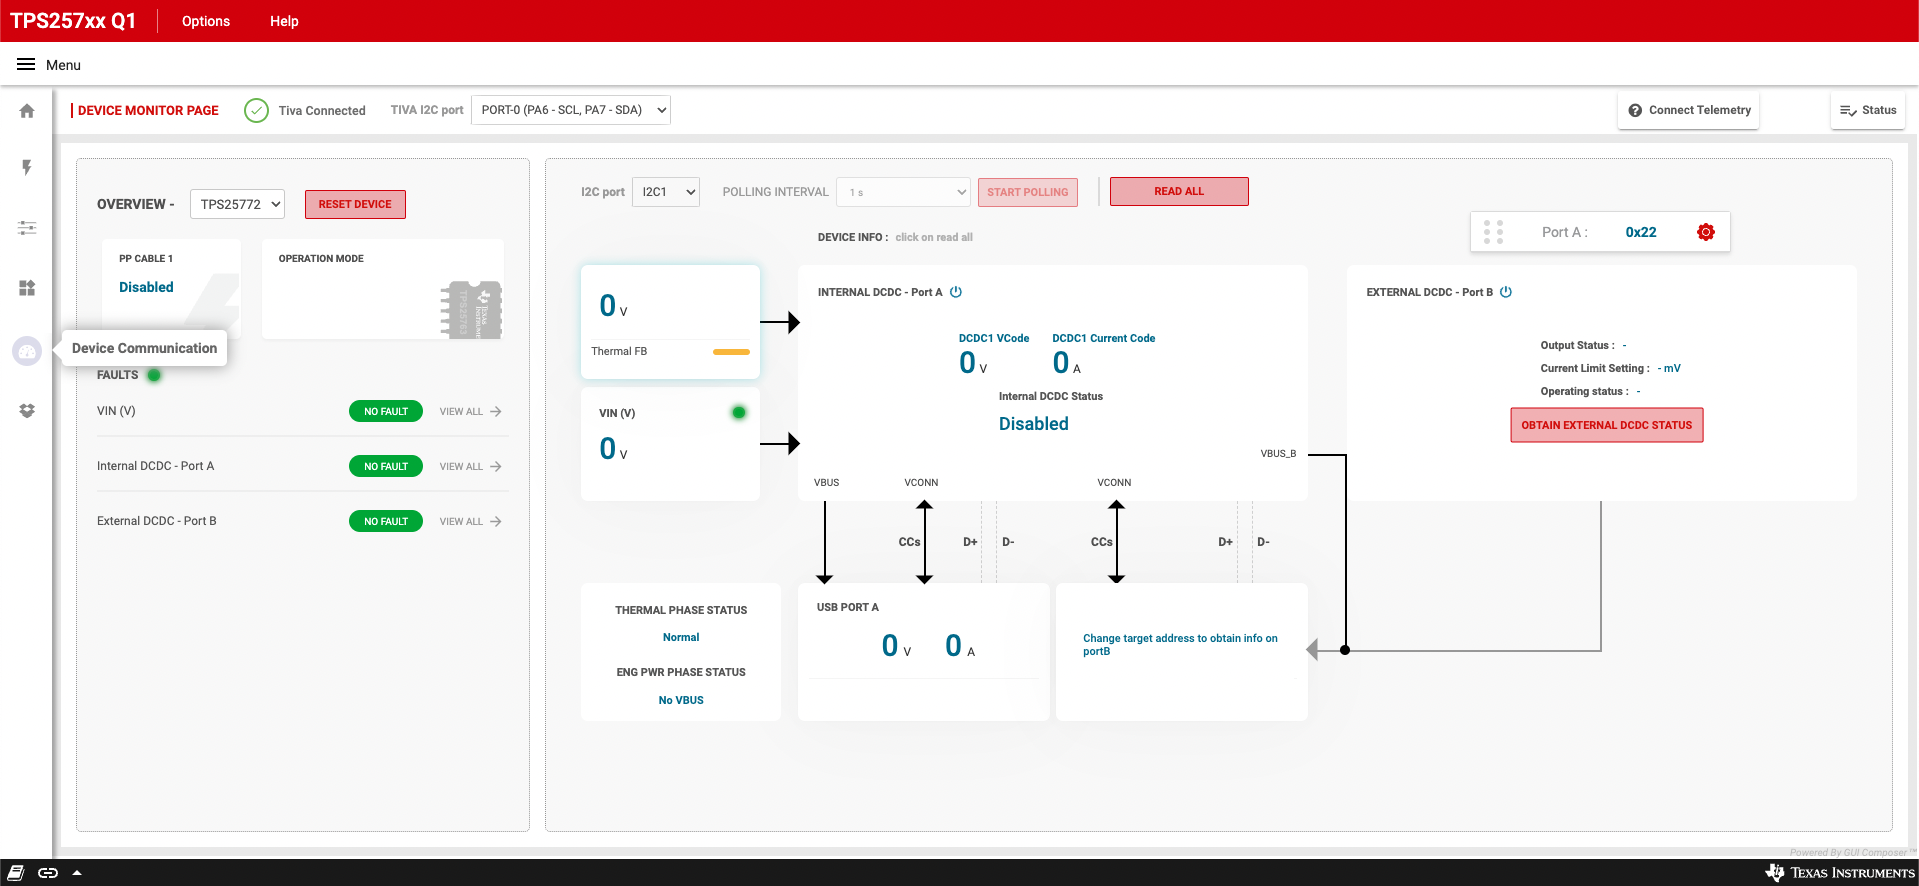 Figure 6-5 TPS257xx-Q1 Telemetry
Interface
Figure 6-5 TPS257xx-Q1 Telemetry
InterfaceMake sure the correct target address is selected to access device telemetry information. The address is determined by the TVSP pin configuration as described in the device-specific data sheet. The target address is 0x22 or 0x23 for Port A and 0x26 or 0x27 for Port B (on a dual-port device). Only one port status can be read at a time.
The GUI provides Port A and Port B target address selection controls to align with the hardware configuration, see Figure 6-6.
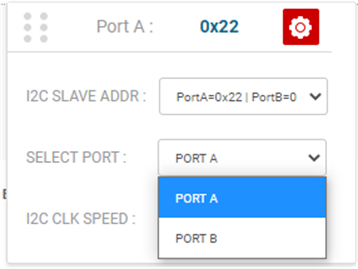 Figure 6-6 Telemetry Port
Configuration
Figure 6-6 Telemetry Port
ConfigurationIn addition to the main telemetry information, clicking the Status button in the upper right of the GUI page opens the quick status window displaying additional information about the port charging status when the READ ALL button is selected, see Figure 6-7.
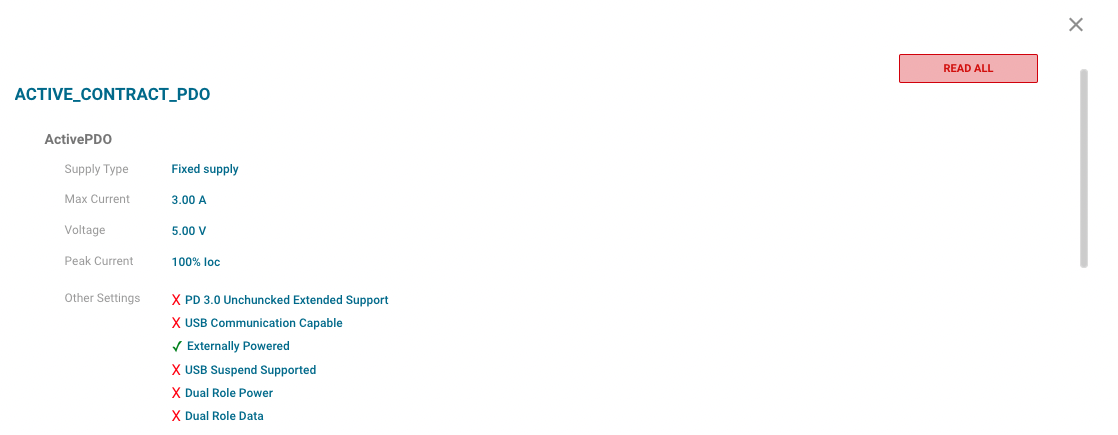 Figure 6-7 Telemetry Status
View