SLVUBX5C December 2022 – August 2024 TPS25762-Q1 , TPS25763 , TPS25763-Q1 , TPS25772-Q1
5.5 SSH Key Generation
Creating RSA Keys using ssh-keygen. SSH key pairs can be generated using the following command lines:
mkdir keysssh-keygen -t rsa -b 3072 -m PEM -f keys/rsa3072engrssh-keygen -t rsa -b 3072 -m PEM -f keys/rsa3072prod
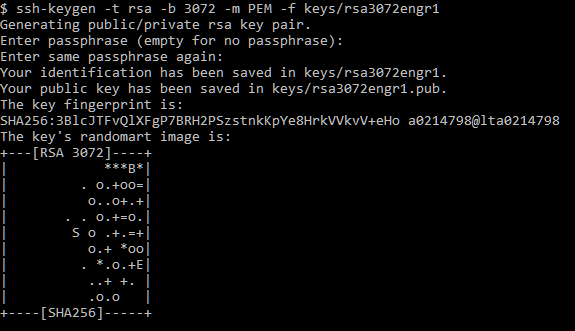
 Figure 5-13 Git Bash Key Generation - Engineering
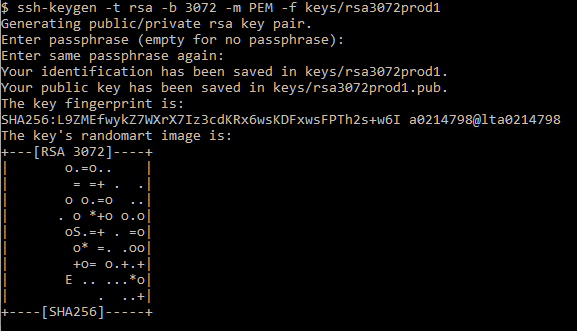
 Figure 5-14 Git Bash Key Generation - Production
Generated keys are found in the keys directory created via the mkdir keys command.
 Figure 5-15 Generated Keys
For a Microsoft® Windows® PC, Git installation with SSH can be necessary to generate keys as instructed in this section.
To install Git:
- Download and initiate the Git installer.
- When prompted, accept the default components by clicking the Next button.
- Choose the default text editor. If you have Notepad++™ installed, select Notepad++ and click the Next button.
- Select Use Git from the Windows Command Prompt and click the Next button.
- Select Use OpenSSL library and click the Next button.
- Select Checkout Windows-style, commit Unix-style line endings and click the Next button.
- Select Use MinTTY (The default terminal of mYSYS2) and click the Next button.
- Accept the default extra option configuration by clicking the Install button.
- When the installation completes, restart Windows, if needed.
To launch GitBash:
- Invoke the command line window:
cmd.exe. - Run
bash.exefrom the Git installation folder: (that is, C:\Program Files\Git\bin)