SNIU039 December 2019
1 Quick Start
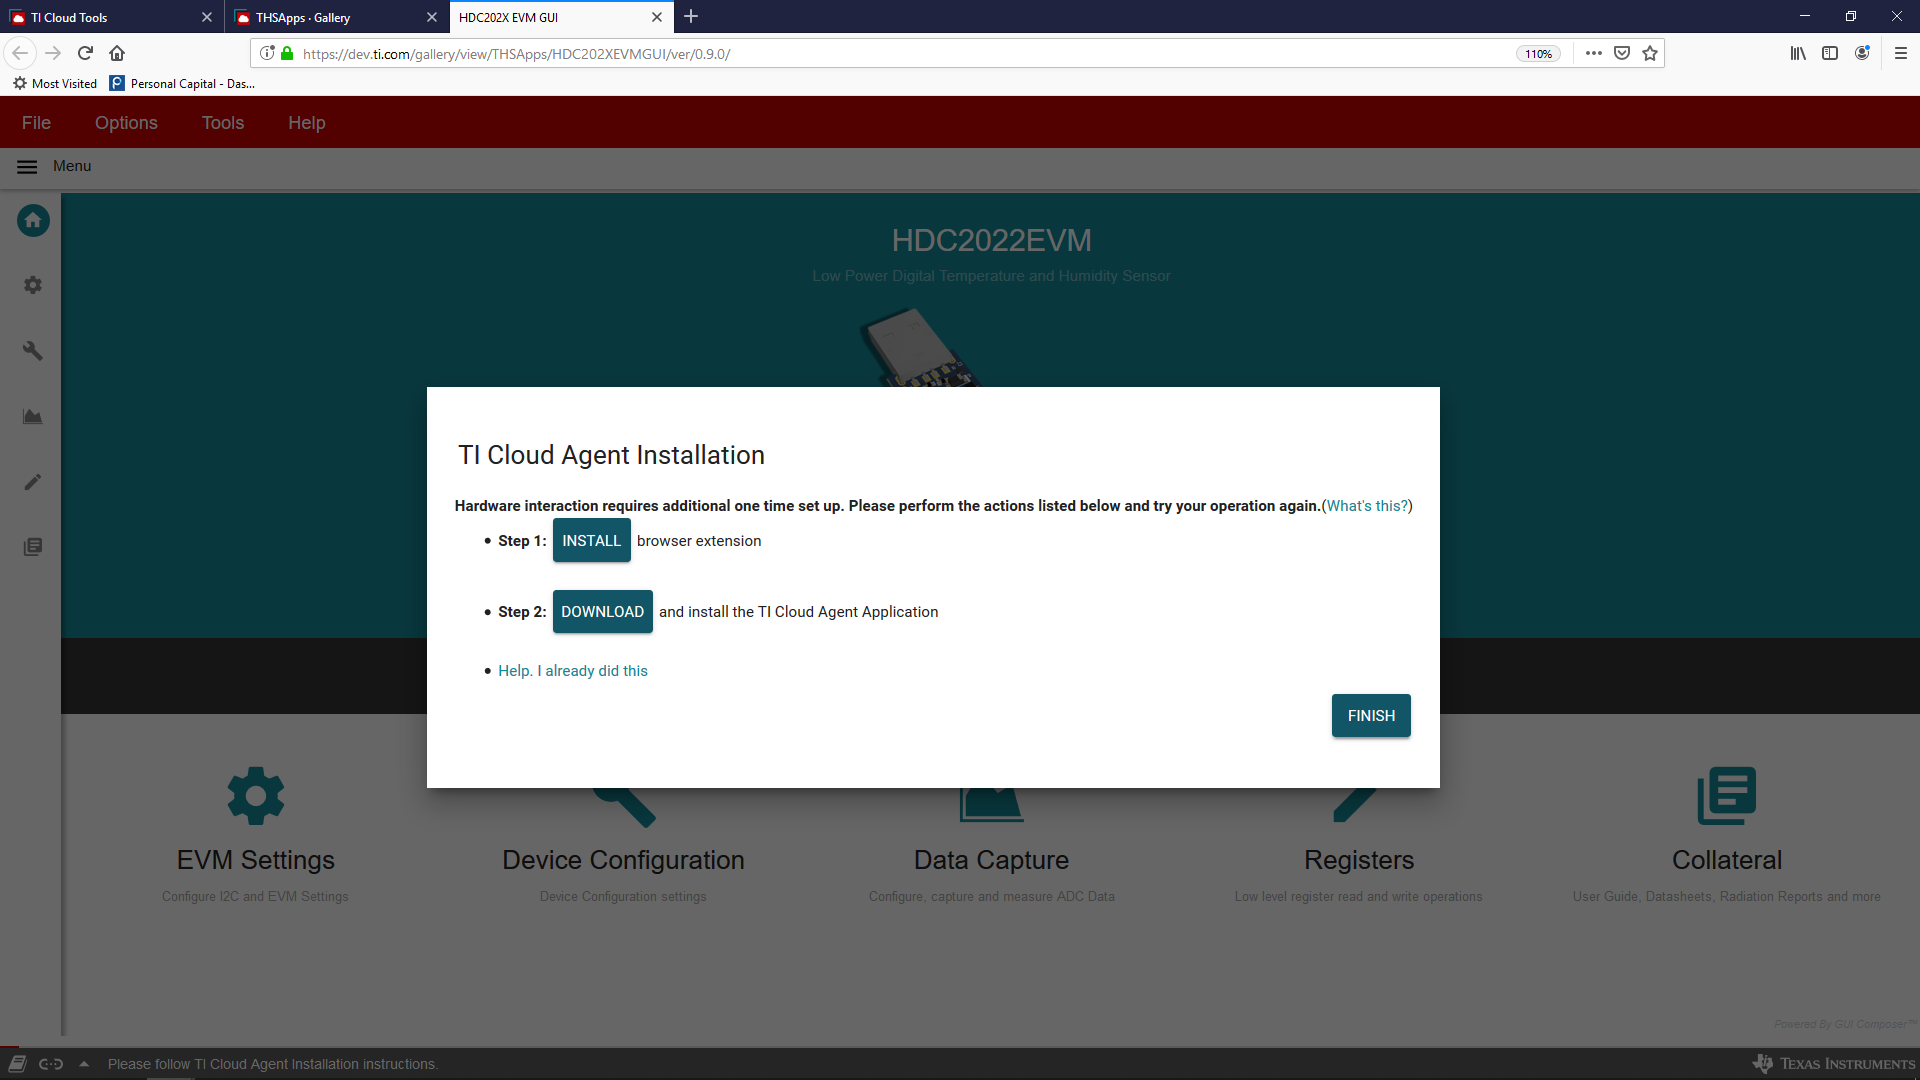
- Click here in Safari, Firefox, or Chrome and select the HDC202xEVM GUI from the gallery to access the cloud-based GUI. The browser window should appear as in Figure 2. Follow the onscreen instruction to complete setup.
- Reload the browser window after installation to access the home screen of the HDC2022EVM GUI.
- Connect the HDC2022EVM to the USB port of your computer via USB. Drivers for the device will install automatically and the GUI will connect to the EVM.
- Temperature and humidity data can be recorded and logged on the data capture tab. Select the
 icon to navigate to this page. You can enable register auto-read from this page, and initiate a one-shot to take sample data.
 - Configure device settings from the device configuration tab
 .
. - Register, bit-field, and bit level configuration can be performed from the register tab
 .
.
 Figure 2. HDC2022EVM GUI on first startup