SNOU195 july 2023 LDC5072-Q1
- 1
- Abstract
- Trademarks
- 1 Introduction
- 2 Gaining Access to the LDC5072 Sensor Design Tool
- 3 Installer Setup
- 4 Installing the Tool
- 5 Tool Overview
- 6 Using the Tool to Create a Design and Generate a Supporting SPICE Model and Gerber Files
- 7 Running Simulations in Pspice
- 8 Layout, Bill-of-Materials, and Schematic of the Test PC board
- 9 Troubleshooting
- 10Revision History
3 Installer Setup
After the download, a shortcut appears on your deskop.
 Figure 3-1 LDC5072 Design Tool Installer Shortcut on Desktop
Double-click the icon and ignore any messages from Windows Defender. The Setup pop-up appears.
 Figure 3-2 LDC5072 Sensor Design Tool Installer & Setup Start Panel
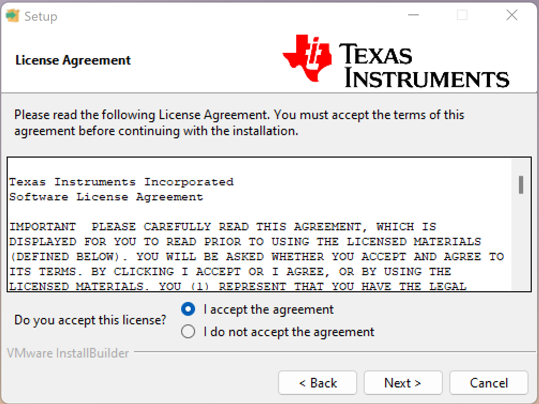
Click the Next button and the License Agreement appears.
 Figure 3-3 LDC5072 Sensor Design Tool License Agreement
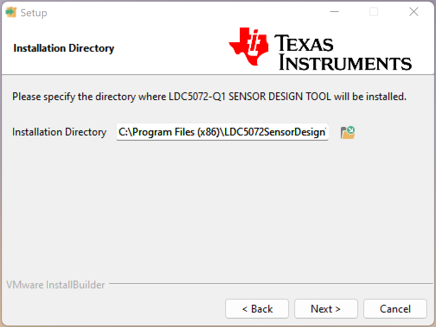
Read the license agreement. If the terms are acceptable, click the I accept the agreement radio button and the Next button. The next pop-up shows a default installation path, but allows an alternative path to be entered.
 Figure 3-4 Directory Path for Tool Installer & Setup
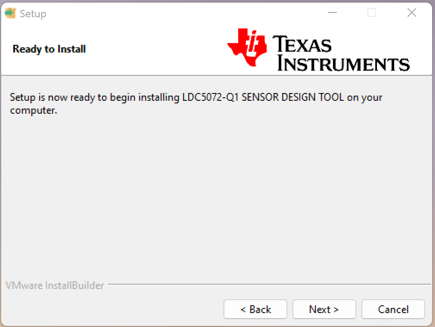
Once the installation path is entered, click the Next button and a status window shows the setup is ready to install. Click Next to begin the setup and file unpacking.
 Figure 3-5 Ready to Download Installer Status Window
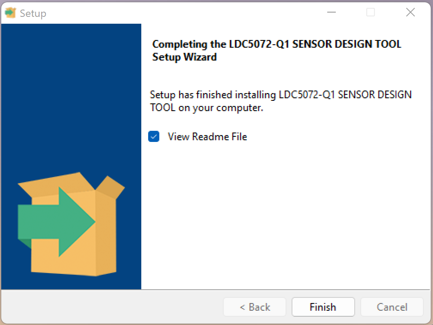
When the setup and unpacking are complete, a final pop-up appears.
 Figure 3-6 Installer Download & Setup Complete Status Window
Click Finish and the installer setup is complete.