SWRU580 April 2021 CC2564C , CC2564MODA , CC2564MODN
- Trademarks
- 1 Introduction
- 2 A2DP (AUD) Demo Guide
- 3 A3DP Sink Demo Guide
- 4 A3DP Source Demo Guide
- 5 HFP Demo Guide
- 6 HFP Audio Gateway Demo Guide
- 7 HID Demo Guide
- 8 HSP Demo Guide
- 9 Map Demo Guide
- 10PBAP Demo Guide
- 11SPP Demo Guide
- 12SPPLE Demo Guide
- 13SPPDMMulti Demo Guide
- 14ANP Demo Guide
- 15HFP Demo Guide
- 16HTP Demo Guide
- 17PASP Demo Guide
- 18HOGP Demo Guide
- 19PXP Demo Guide
- 20FMP Demo Guide
- 21CSCP Demo Guide
- 22Revision History
9.2 Demo Application
This section provides a description of how to use the demo application to connect two configured board and communicate over Bluetooth. Bluetooth MAP is a simple Client-Server connection process. We will setup one of the boards as a Server and the other board as a Client. We will then initiate a connection from the Client to the Server. Once connected, we can transmit data between the two devices over Bluetooth.
Server setup on the demo application- We will setup the first board as a Server. Perform the steps mentioned earlier in Running the Bluetooth Code section to initialize the application. Once initialized, note the Bluetooth address of the Server. We will later use this to initiate a connection from the Client.
- On the Choose mode> prompt, enter Server.
- You will see a list of all possible commands at this time for a Server. You can see this list at any time by issuing the Help command at the Server> prompt.
- Now we are ready to open a
Server. To open a Server, at the Server>prompt, issue the OpenServer 1
C:\Temp command. You can replace 1 with any number between 1 and 30, as long as
there is no Server open on that port. The C:\Temp stands for the directory in
which you store your received messages. Once you see the
MAP_Open_Message_Access_Server() Successful notification, you have a MAP Server
open on port 1.
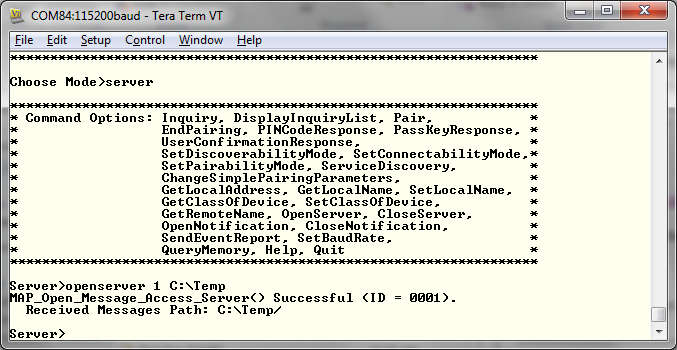 Figure 9-2 MAP Demo Server Setup
 - We will setup the second board as a Client. Perform the steps mentioned earlier in Running the Bluetooth Code section to initialize the application. On the Choose mode> prompt, enter Client.
- You will see a list of all possible commands at this time for a Client. You can see this list at any time by issuing the Help command at the Client> prompt.
- At the Client> prompt, issue the Inquiry command. This will initiate the Inquiry process. Once it is complete, you will get a list of all discovered devices.
- You can access this list any time
by issuing the DisplayInquiryList command at the Client prompt.Initiating connection from the Client
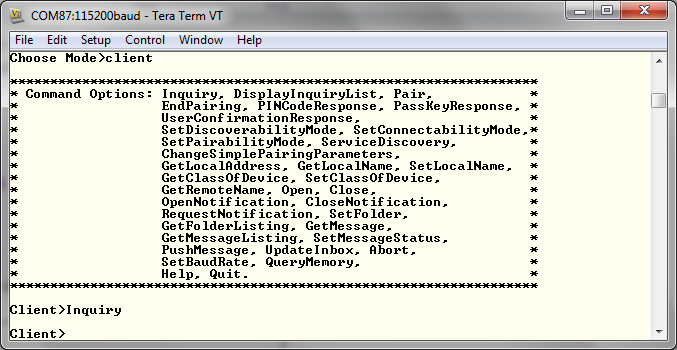 Figure 9-3 MAP Demo Client
Setup
 - Note the index number of the first board that was configured as a Server. [If the list is not on the screen, issue DisplayInquiryList command on the Client to display the list of discovered devices again.]
- Issue a Open <index number> <Server port number> command at the command prompt.
- Wait for the Open Port confirmation.
- When a Client successfully
connects to a Server, the Server will see the open port indication.
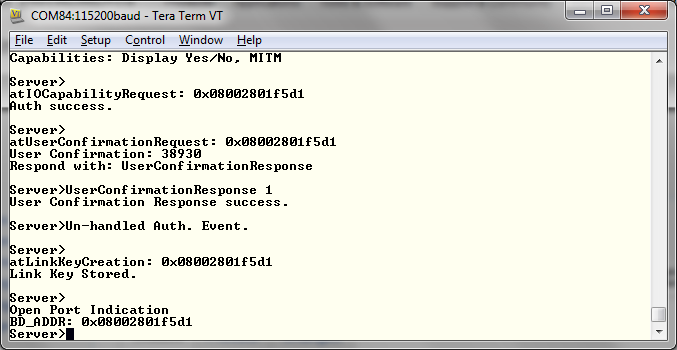 Figure 9-4 MAP Demo Server
Connection
 - On the Client Side, open a
notification Server issuing both the OpenNotification 1 and
RequestNotification commands . We should see on the Server, a
Notification Registration Indication and a
MAP_Set_Notification_Registration_Response() Successful. On the Client
Side you should see a Notification Registration Confirmation Result.
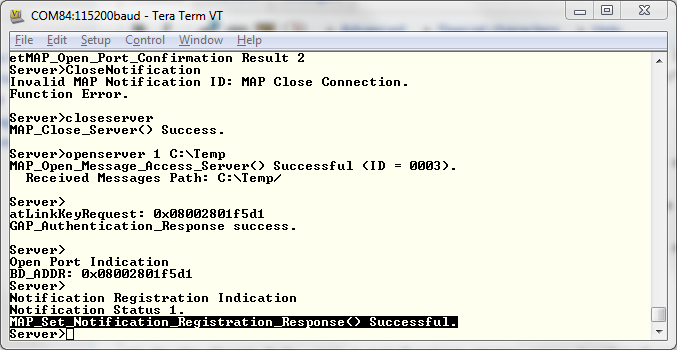 Figure 9-5 MAP Demo Client
Connection 1Data Transfer between Client and Server
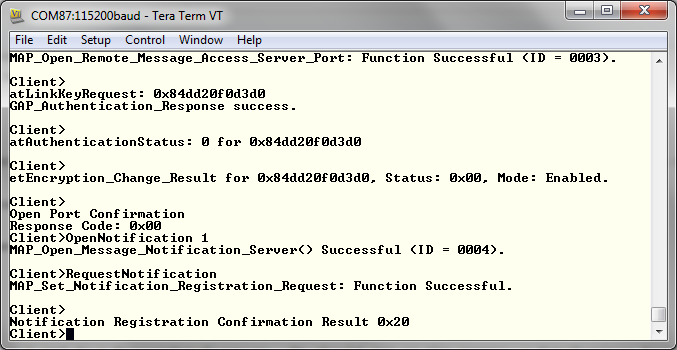 Figure 9-6 MAP Demo Client
Connection 2
 - Now we have a MAP connection established and both devices are ready to transmit data to each other. We can set and get folders. For example you can issue the SetFolder 1 telecom command.
- We can get a Message Listing and
an individual message. For example you can issue the GetMessageListing 65535
0 command.
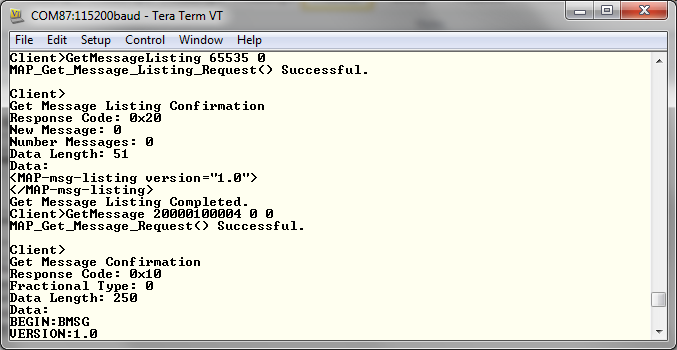 Figure 9-7 MAP Demo Client
Connection 3
 - And we can set the message
status, push messages and update the inbox. For example, you can issue the
PushMessage 1 1 20000100004 0 1 command.
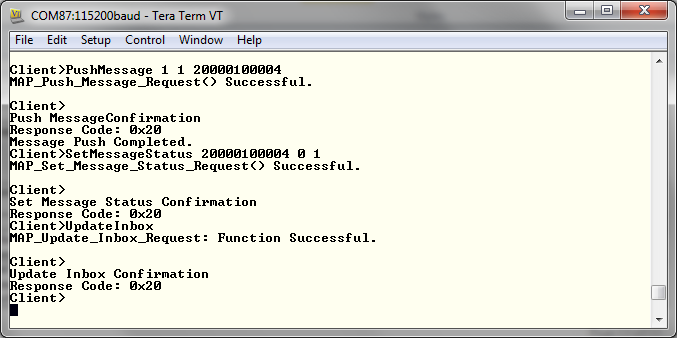 Figure 9-8 MAP Demo Client
Connection 4